I’ve been keeping up with Noragami (Stray God) this season and got to thinking about the colour palette used in the show. To my eyes it has a cold, wintery palette without being obnoxiously colour graded (looking at you here GoHands). This is different from other shows set during winter (Mikakunin et. al.) that still manage to stay bright and cheerful, perhaps thanks to luminous hair colouring but that’s an aside. I idly wondered if there was a way to get a high-level view of a series’ colour palette without resorting to wooly adjectives?
Short version, kind of:
Long version, not really.
If you deal with screenshots enough then you eventually get a general impression of an episode’s colour scheme just by tiling all of the shots in whatever your image manager of choice is. Reducing all of the colours used in a series, an episode, even a single image to an ordered palette though is a little trickier if not, as a I found out, impossible.
I have been subscribed to Movie Barcode on Tumblr for a while now and its approach to movies seemed like a good enough place as any to start with anime. Sparing the technical details (see below), it only took an hour or so to come up with a decent looking approximation:
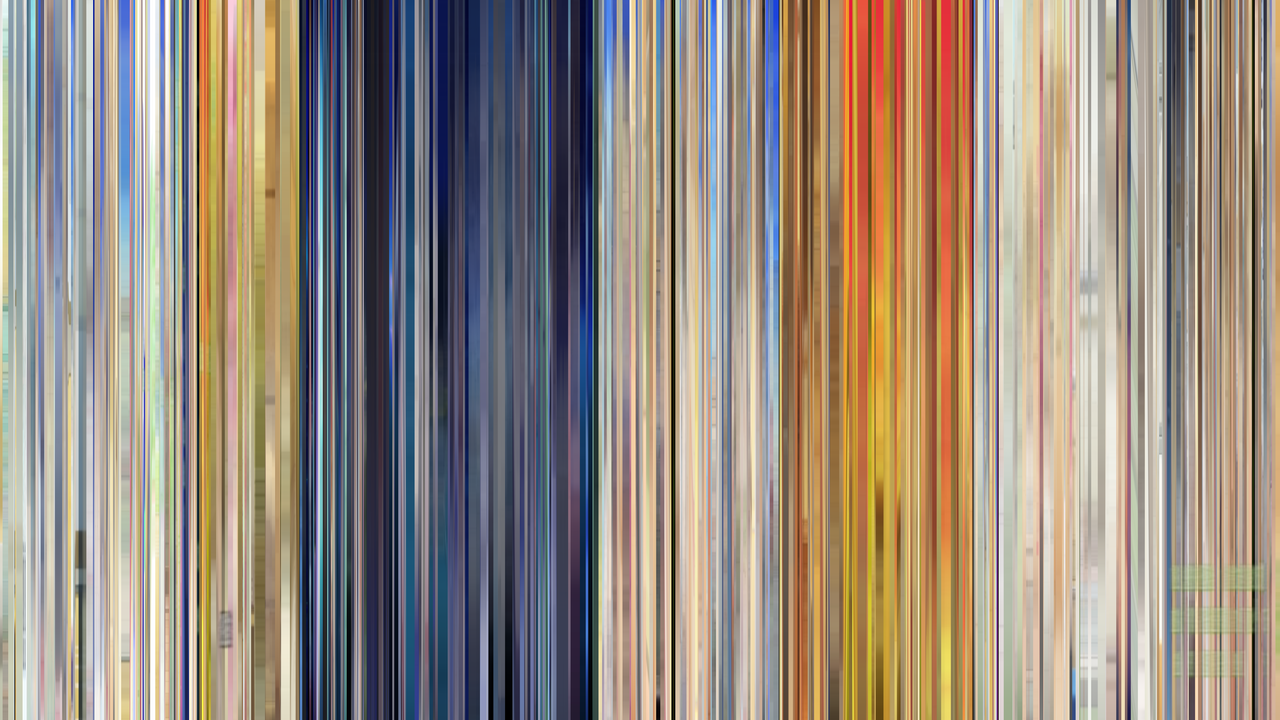
That’s for the first episode of Stony Cat which was the first full series I had to hand. It gives a general overview of what to expect from a scene with nighttime and sunsets clearly identifiable. A nice upshot of this, the resulting image acts as a neat little scrubber if you want to jump to a specific scene within the video file.
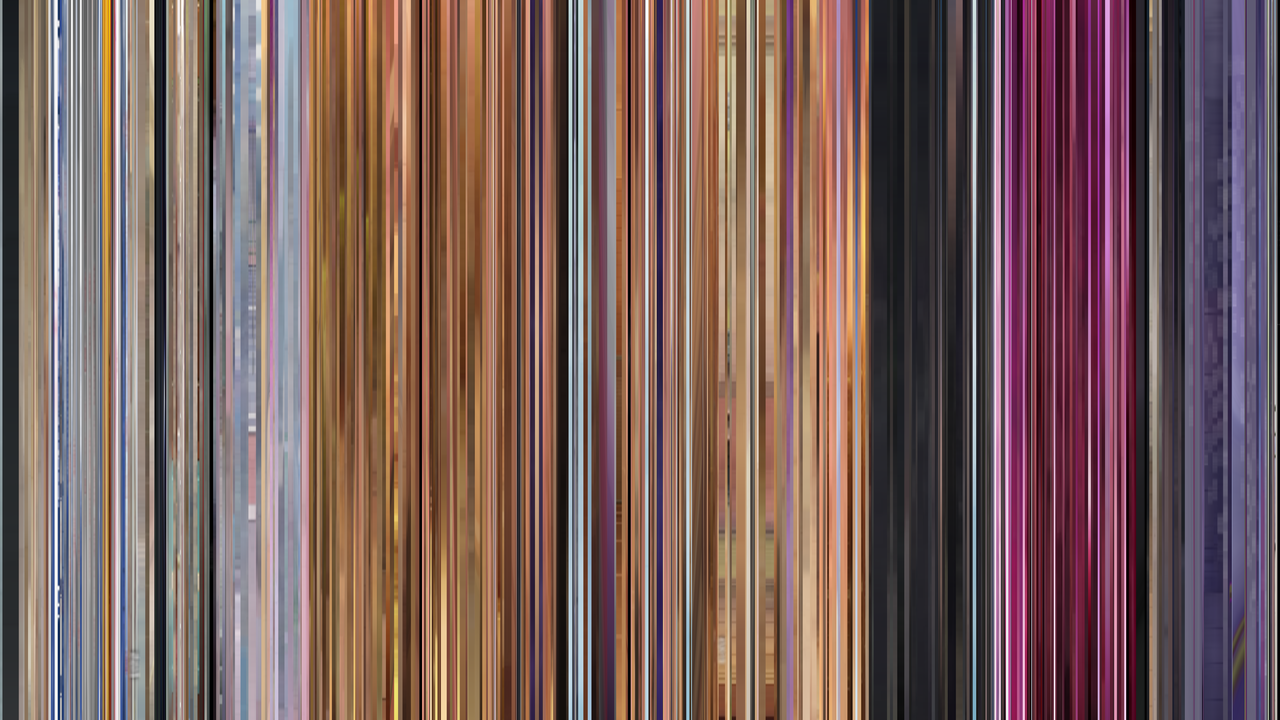
Regardless, I could have just left it there, in my head however there was a mythical image that showed only the colour palette in a clearly identifiable way. After some playing around, I came up with:
It seemed to fit with what I had in mind, however there is an omission in that spectrum that if you scrutinise the full-size image, becomes more obvious: no clear sunset section. Again, glossing over the technical gubbins, the core issue is that “ordering” colour is not straightforward (curse you Blendoku!). You think of all the colour spectrums you’ve seen, with reds blending with oranges blending with yellows etc. and this state seems incongruous. You may have to somewhat take me at my word then that trying to fit and order both colour/hue and brightness/luminance into a 2D image will never be as smooth or as vibrant as one can imagine.
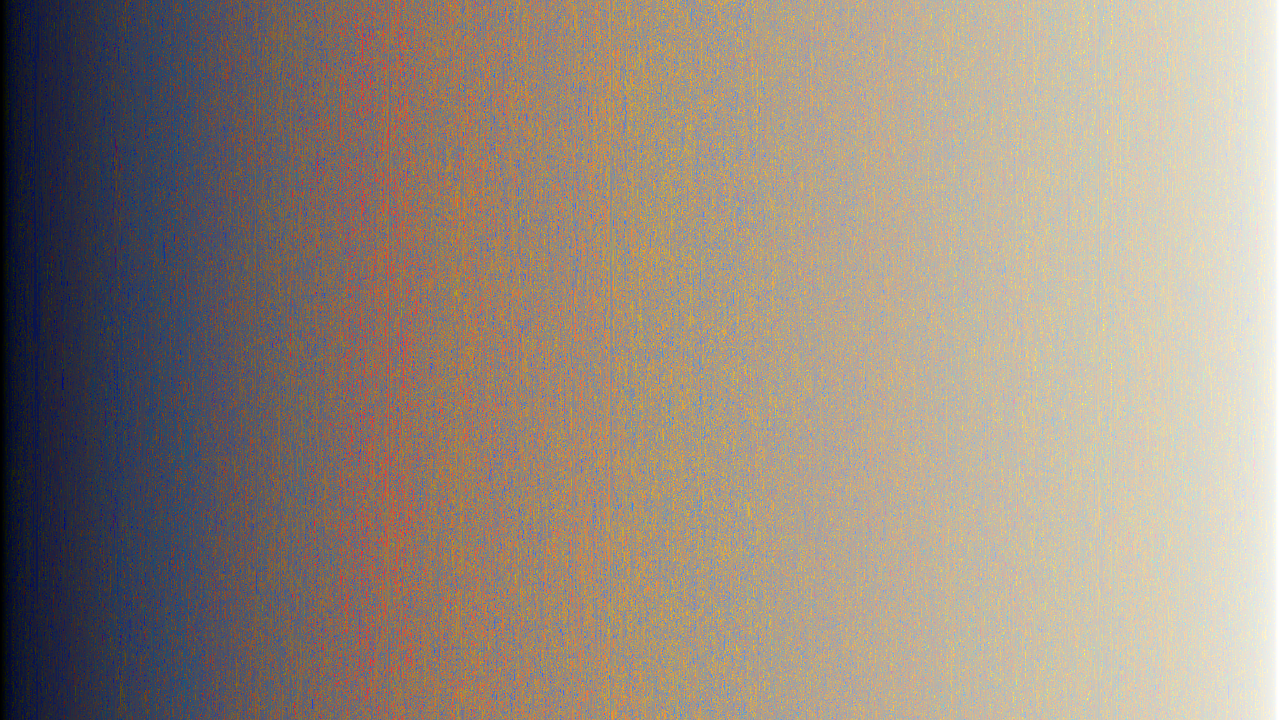
That didn’t stop me trying though:


One image does come close, but fundamentally, doesn’t really add anything above and beyond the original image. The question is then, does it allow comparisons between series?


(Hover your mouse over the image for the series)
Certainly all unique, and like the trial images pretty in their own way, but not exactly the easy to differentiate colour blend I was hoping for.
The end result of this little experiment isn’t the sports-analogy for scoring that I had expected or wanted and at best I’ve managed to somewhat duplicate an existing method for a slightly different medium. Of course, I can pull the predominant colours from the resulting images without too much trouble:


There is something disconnected about those discrete colours though that don’t quite satisfy. The one thing I can say for certain then is that Noragami is fairly dark, and Coppellion is what I imagine the ocean floor looks like to cuttlefish.
Technical
Barcode
Converting a video file into a “barcode” style image isn’t actually that taxing and can be done with a couple of command line programs, FFMPEG and GraphicsMagick (or ImageMagick if you want to wait around until the heat death of the universe).
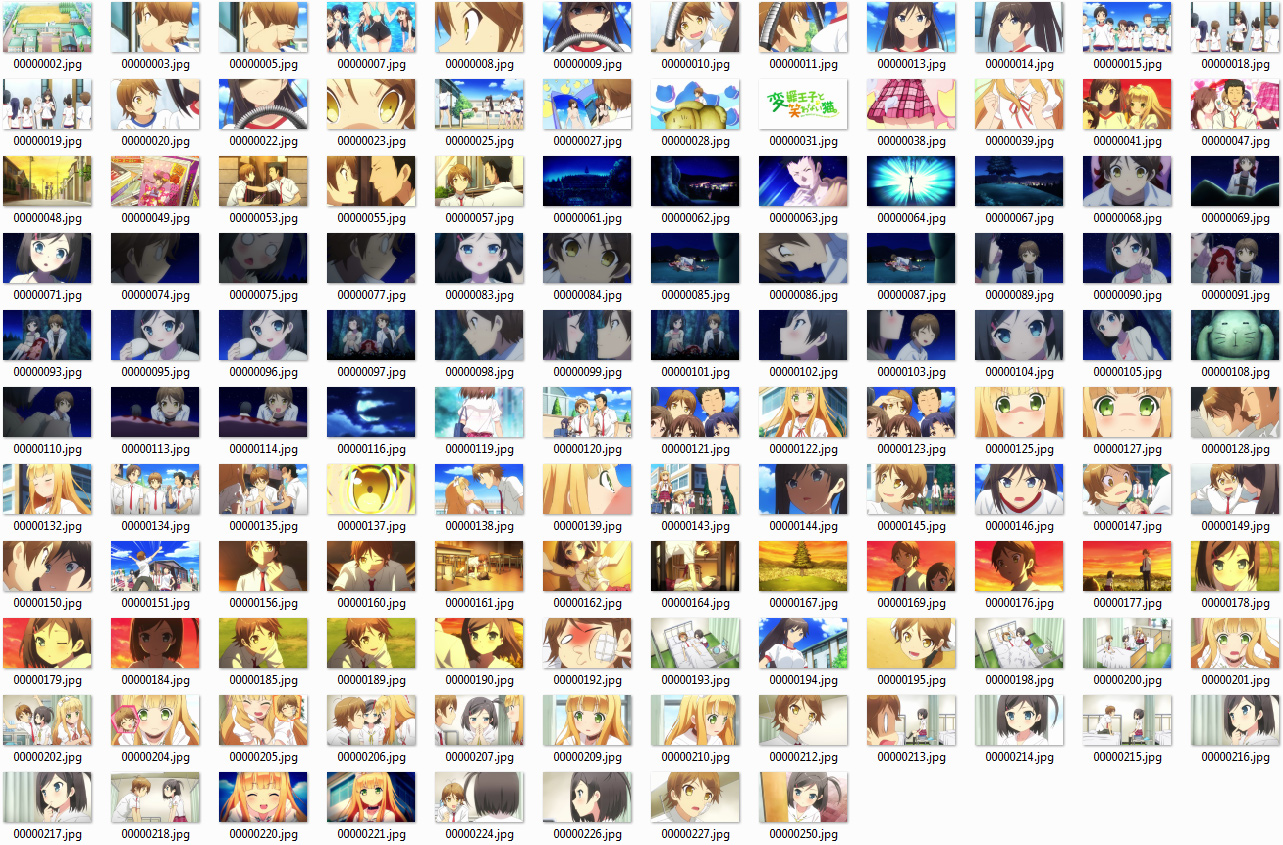
Spitting out all of the frames of a video file as images is remarkably simple, and as I found with my screenshotter, a lot simpler than outputting an image every x seconds:
ffmpeg -i <videofile> -q:v 1 <outputdir>/%06d.jpgI would strongly recommend sticking with high quality JPEGs rather than PNGs; the former allowed for ~200fps, while the latter managed a paltry 12fps, so it would take twice as long as the video file’s run time to output all the images. That’s if you have the hard drive space. At ~24 minutes long at 23.976fps you get around 35,000 images for about 3-5GB of space for JPEGs whereas I barely got eight minutes in before hitting 8GB of PNGs.
Resizing each frame to be only one pixel wide is straight forward:
gm mogrify -resize 1x720! -format png <outputdir>/*.jpgI use PNGs from hereon out to ensure lossless transforms. That command will take a while and is usually disk I/O bound rather than CPU. Smooshing all of the frame slices into a single image is a little trickier. I was doing all of my development work in Windows (booting my Linux partition is a pain) which has a limit to the length of a command line string, meaning globbing all 35,000 images in one go wasn’t possible. I batched them in thousands then combined them at the end; the command is largely identical for both steps:
gm montage +frame +shadow +label -tile 1000x1 -geometry +0+0 <files>/*.png output.pngI’d used a similar command for my grid of Evangelion 3.33 screenshots.
Anyway, with a file 35,000x720, the only step left to do is to resize that to 1280x720 (or whatever the original video size was):
gm convert -resize 1280x720! input.png output.pngHad I been in Linux I could have covered all of those steps in a shell script, unfortunately not knowing Windows scripting I settled for a simple enough PHP script.
Colour ordering
My first thought was to take every pixel from a barcode image and order them according to brightness. This would go from “dark” at one end to “light” at the other. The result wasn’t bad, but the problem is that two disparate colours can have the same “brightness”, according to the simplistic method for calculating it.
This meant that the resulting image is largely correct, but has a lot of “noise” in it, specifically in the case of the Stony Cat barcode of the interspersed reds from the sunset scene. What followed involved me trying several different colour ordering techniques on several different methods of cutting up the image. The first (and simplest) is ordering every individual pixel, all 921,600 for a 720p image; ordering the columns of pixels by reducing the barcode to one pixel high, ordering those pixels, then applying that ordering to the image; and finally performing a column sort but stretching that one pixel image to full size, effectively losing a lot of the frame slice information. These are perhaps best illustrated by example:


The ordering techniques I used varied from straightforward “basic” ordering (putting the RGB channels into a single integer and ordering by that), brightness and its complement luminance through to varying hue, saturation and lightness orders:


The hue image came close to what I had in mind but was too noisy to be satisfying. At this point I had a script to output all of the different patterns and was about to expand it to do sub-ordering - so if the luminance of two pixels were the same but the colours obviously different, try ordering by hue etc. when it became clear the resulting image just wasn’t going to match what I wanted in my head.
Effectively it was attempting to order a system that wouldn’t go into two dimensions. I had multiple browser tabs open on colour theory and gamma correction and visible light spectrums before I grasped that my imagination was, in this case, not possible in reality.
Colour palettes
Reducing the colour depth of an image - such as going from a true colour to a paletted image - is colour quantization. There are plenty of libraries around to do this (hell, even one for JavaScript) but the easiest way is to use GraphicsMagick’s built in method and then to do an identify on that image:
gm convert -colors 8 -treedepth 8 input.png output.png
gm identify -verbose output.png
Identify’s output should list the available colours, complete with handy dandy hex values for web use.
Going forward
As a Sunday afternoon project, this one has I feel run its course. There was a fleeting inclination to do an Tumblr bot that automatically posted these kinds of barcodes and colour palettes however the resource requirements makes this somewhat unfeasible for my otherwise slim hosting package. There are likely more involved ways forward in ordering and quantization, for the moment at least though I'm done with this idea.

Of course, I didn't think to search "anime barcode" until just now. Nice work! I hope you enjoy mine.